🚀 Using the Demo
We strongly recommend that you first run the framework-specific sample DEMO we have prepared for you. This will not only give you a firsthand experience of OpenIMSDK's features but will also assist you in quickly identifying and resolving issues during the actual integration process.
Integration Steps (Webpack5+)
1. Add Dependencies
npm install @openim/wasm-client-sdk
2. Obtain the static resources required for wasm
In the
node_modulesdirectory at the root of your project, find the@openim/wasm-client-sdksub-directory and copy all files from theassetsfolder to the public resources directory of your project (public).
- File list:
openIM.wasm
sql-wasm.wasm
wasm_exec.js
- After copying, include the
wasm_exec.jsfile in yourindex.htmlvia the script tag.
3. Import SDK
- Import SDK
import { getSDK } from '@openim/wasm-client-sdk';

const OpenIM = getSDK();
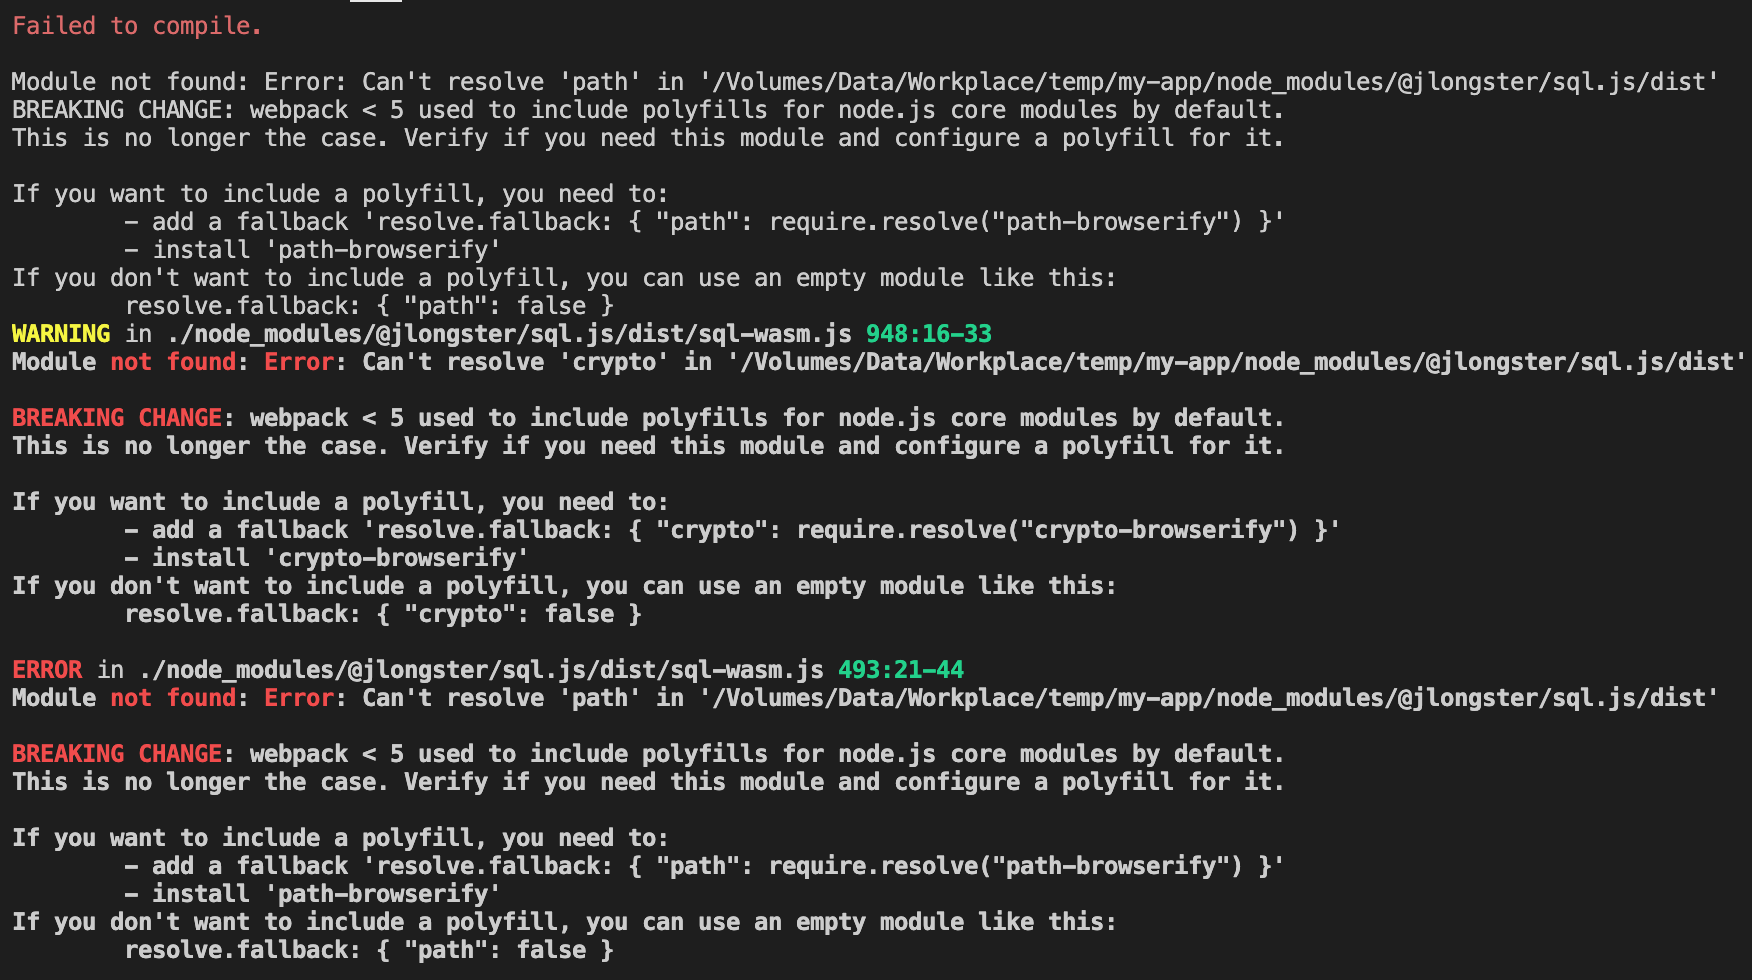
Potential issue you might encounter

Solution
Add the following configuration in the webpack setup:
resolve: {
      fallback: {
        path: false,
        crypto: false,
      },
    },
Integration Steps (Vite, Webpack4)
The first and second steps are the same as the Webpack5+ integration steps mentioned above.
Import SDK
Copy the lib directory from the npm package to your project, such as: src/utils/lib
If using Webpack4, you also need to import the worker loader:
- Install
worker-loaderandworker-plugin
npm install worker-loader worker-plugin -D
- Add the following configuration in webpack:
const WorkerPlugin = require("worker-plugin");

...
plugins: [new WorkerPlugin()]
...
Modify the import method of web worker in the lib/api/index.js file.
- For Webpack4.x:
+ import IMWorker from 'worker-loader!./worker.js';

- worker = new Worker(new URL('./worker.js', import.meta.url));
+ worker = new IMWorker();
- For Vite:
+ import IMWorker from './worker?worker';

- worker = new Worker(new URL('./worker.js', import.meta.url));
+ worker = new IMWorker();
Importing
The path is where the
libwas placed after copying
import { getSDK } from '@/utils/lib';

const OpenIM = getSDK();